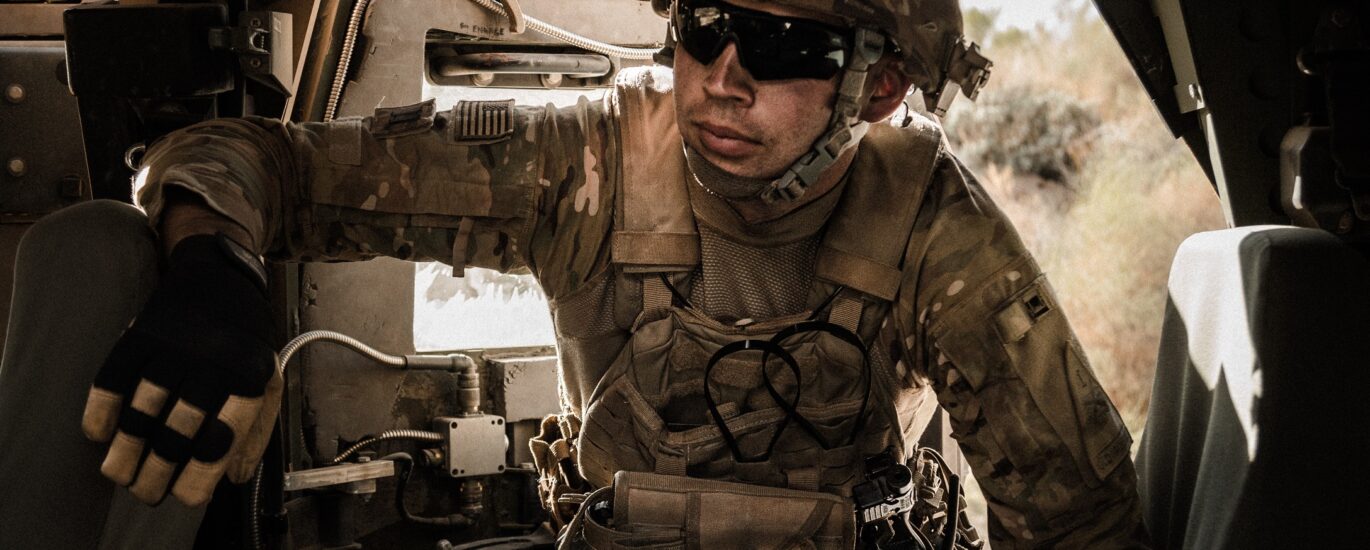
A plate carrier vest is the first line of defense for any military, law enforcement or security personnel. It is a critical piece of equipment that can save lives in hazardous situations. But setting up a plate carrier vest can be a daunting task for first-timers. In this guide, we will walk you through the step-by-step process of setting up a plate carrier vest so that you can be ready for any situation.
Step 1: Choose the Right Plate Carrier Vest
The first step is to choose the right plate carrier vest. There are many different types and styles available on the market, so it’s important to choose one that fits your body type and mission requirements. Look for a vest that has adjustable straps and a comfortable fit. The vest should also have a MOLLE system, which allows you to attach pouches and accessories to the vest.
Step 2: Choose the Plates
The second step is to choose the plates for your vest. There are several types of plates available, including ceramic and steel. Ceramic plates are lighter and more comfortable, but they are also more expensive. Steel plates are heavier, but they are also more affordable. Choose the plates that best fit your needs and budget.
Step 3: Install the Plates
The third step is to install the plates into the vest. To do this, open the front of the vest and slide the plates into the front and back pockets. Make sure the plates are centered and secured into the pockets. Once the plates are installed, adjust the straps to ensure a snug fit.
Step 4: Attach Pouches and Accessories
The fourth step is to attach pouches and accessories to the vest. The MOLLE system on the vest allows you to attach pouches and accessories in a variety of configurations. Start by attaching pouches for essential items like ammunition, a radio, and a first aid kit. Once you have attached the essential items, you can add additional accessories like a hydration bladder or a GPS.
Step 5: Adjust the Vest
The final step is to adjust the vest for a comfortable fit. Start by adjusting the shoulder straps to ensure that the vest is sitting correctly on your body. The front and back of the vest should be level and the sides should be adjusted to create a snug fit. Once you have adjusted the fit, move around and test the vest to ensure that it is secure and comfortable.
Setting up a plate carrier vest is an important task that requires attention to detail. By following these simple steps, you can set up your plate carrier vest for maximum effectiveness in any situation. Remember to choose the right plate carrier vest, plates, and accessories for your mission requirements. Install the plates correctly, and attach the pouches and accessories in a configuration that works for you. Finally, adjust the vest for a comfortable fit and complete any final adjustments needed. With your plate carrier vest fully set up, you can have peace of mind knowing you are well-equipped and ready for any challenge that comes your way.
For more great articles, please click here.


Recent Comments